
G-Floor flooring covers everything from protecting your garage floor, to catching your sweat in the workout room. No matter what the project is, installation is key to seeing the high performance of G-Floor flooring. It’s best to determine the ideal installation method for your project. With the option of a wall-to-wall or a free-floating installation, here is a brief overview of each!
Prior to any installation, the subfloor should be clean, scraped, and swept free of any debris or chemicals. Unroll mats 48-72 hours prior to installation to allow the vinyl to acclimate and relax for best results.
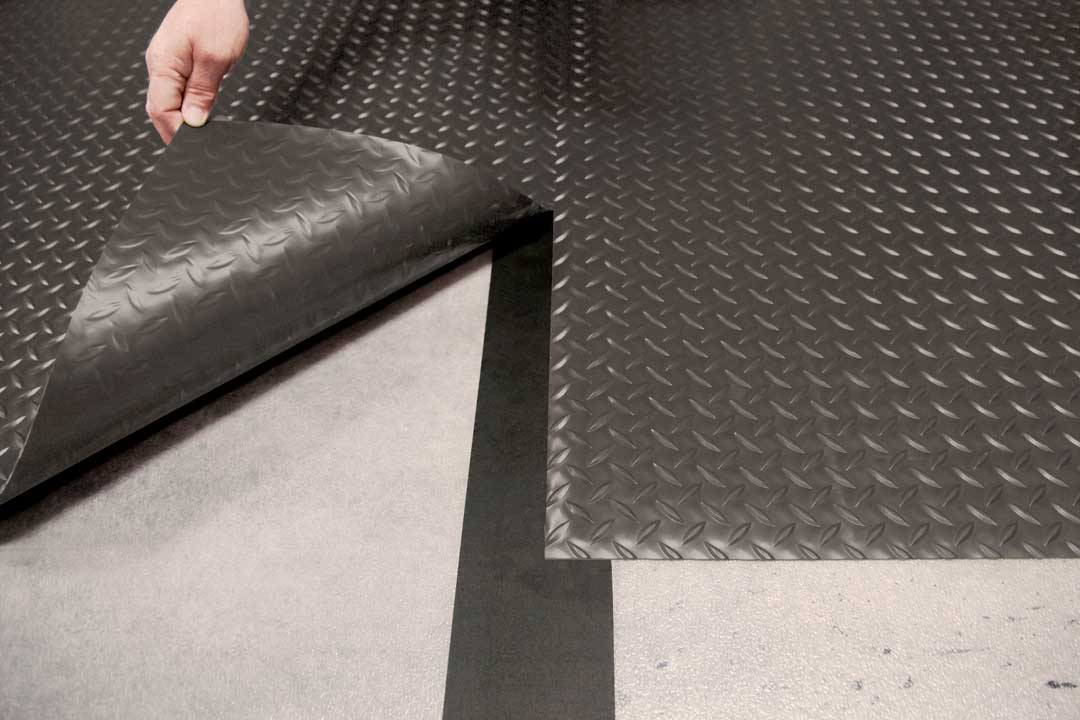
- Single Mat Installation
- As simple as unrolling the mat just outside the area you are planning to cover, and then gently pulling the mat back over itself to position into place with the textured side up. Watch the video demonstration here!
- Double sided tape is not required; however, to avoid any shifting you can add double sided tape along the leading edge of the mat.
- Double Mat Installation
- Seaming two mats requires the use of seam tape or center trim. The main difference between the two is that for a seamless, continuous look the seam tape would be applied as opposed to the ease of center trim.
- Another option when laying two mats would be to lay them side by side with at least a one-inch gap between.
- Mats should NEVER be overlapped as this creates a tripping hazard as well as the possibility of trapping moisture.
- Three or More Mats
- When three or more mats are being installed, G-Floor center trim should be used to give mats room for expanding and contracting. Using seam tape here could cause center mat to buckle.
- Wall-to-wall Installation
- It is highly recommended to fully adhere the mats. Adhering them will keep them in place and create a solid, long-lasting installation.
TIP: G-Floor Pet Flooring requires no adhesive. Roll out and place! However, for the big chewers, messy eaters, and accident-prone pets, choosing to add weatherstripping around the edges to lift them will help contain the fluids!
Click here for more information on installation!